How to Set Up a Hardware Wallet for Your Mining Earnings
Unboxing, firmware, seed phrase, receive-address — a first-time hardware wallet setup walkthrough for miners storing real BTC payouts safely.
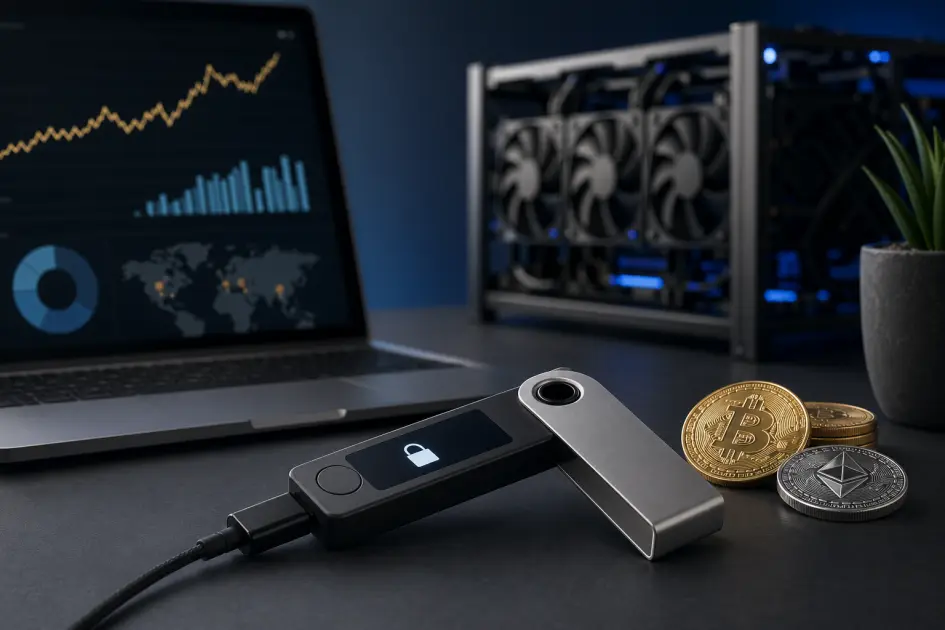
A hardware wallet keeps your mining payouts safe only if you set it up correctly the first time. The device you buy — Ledger, Trezor, or Coldcard — matters far less than the six setup steps that decide whether your seed phrase can ever be stolen. This guide walks a first-time owner from unboxing to a verified receive address, using the universal workflow that applies across every major brand.
Why Setup Matters More Than the Brand You Choose
New owners obsess over Ledger vs Trezor vs Coldcard. The honest answer is that about 90% of your self-custody security comes from how you set the device up — not which logo is on the box. Every reputable hardware wallet stores your private keys in a secure element and signs transactions offline. That's the part the hardware solves. What the hardware cannot solve is a seed phrase you photographed on your phone, a device you bought from an unknown eBay seller, or firmware you skipped verifying.
In practice, the people who lose BTC from hardware wallets almost never lose it because the device "failed." They lose it because they typed the seed into a password manager, skipped the recovery-verification step, reused a four-digit PIN from another account, or stored the backup in a single location that flooded. Treat the first thirty minutes of setup as the most important thirty minutes your cold storage will ever experience. The steps below survive brand, model, and even company bankruptcy — because they're really about you and the seed phrase, not the plastic case.
Before You Unbox the Device
The attack surface opens before you ever press a button. Two of the highest-impact decisions happen while the box is still sealed: where you bought it from, and whether the packaging has been tampered with.
Buy first-party only
Order from the manufacturer's official site or a named authorised reseller. Never eBay, Amazon Marketplace third parties, or used units — supply-chain tampering is real.
Inspect the seal
Tamper-evident stickers, shrink-wrap integrity, and matching serials on box and device. If anything looks pre-opened or glued back on, contact the vendor before powering on.
Prep a non-digital backup
Have paper (or ideally a metal seed plate) and a pen on the desk before you start. You cannot pause to "find something to write on" in the middle of step 3.
Also charge the device if it has a battery, clear the table, close other browser tabs, and work alone. No phone cameras pointed at the screen, no video calls, no "helpful" family members looking over your shoulder while you transcribe twelve words. For general background, bitcoin.org's wallet security page covers the same baseline practices from a protocol-neutral perspective.
The 6-Step Setup Workflow
Every major hardware wallet follows the same logical sequence. The button labels differ and Coldcard can run entirely air-gapped, but conceptually you move through these six checkpoints in order. Do them in one sitting, do not skip recovery verification, and do not move BTC onto the device until all six are complete.
Connect and install the official companion app
Ledger uses Ledger Live, Trezor uses Trezor Suite, Coldcard can operate standalone or with Electrum. Always download from the manufacturer's own domain — typo-squatted "ledger-live.com" clones have drained real wallets. Plug the device in over USB and let the app prompt you to install or verify genuine firmware before you proceed. Skipping this check is how counterfeit or malware-flashed units get past victims.
Initialise a NEW wallet — never "Restore"
You'll be offered two choices: set up as a new device, or recover from an existing seed. First-time owners always choose new. The device then generates entropy internally, offline, using hardware randomness. If you see a pre-printed seed phrase inside the box, that is a scam — stop immediately and contact the vendor. A legitimate hardware wallet generates the seed after you power it on, in front of you.
Record the seed phrase on paper, in order
The device shows 12 or 24 English words on its own screen. Write them down on paper (or stamp them on a metal plate), numbered 1 through 24, in exact order. Never type the words into a phone, laptop, password manager, cloud note, email draft, or photograph them — the instant the seed touches an internet-connected device, the "hardware" part of your wallet is effectively bypassed. This single rule prevents the majority of real-world hardware-wallet losses.
Verify the seed phrase when the device asks
After you finish writing, the device quizzes you — "enter word 7, word 13, word 19." Do not skip this. It is the only proof that what you wrote down actually matches what the device stored. Owners who breezed through and later found out they mis-spelled word 18 have no recovery path when the device eventually dies. If verification fails, start the whole setup over from step 2 with a fresh wipe rather than guessing.
Set a strong device PIN
The PIN protects the physical device from casual theft — it buys you time to move funds if the wallet is stolen. Use 6 to 8 digits where the device allows. Avoid birthdates, repeating digits like 111111, phone-number suffixes, or any PIN you reuse from ATM cards. Most wallets wipe themselves after a small number of wrong attempts, so forgetting the PIN is the same as losing the device — your seed phrase from step 3 is the fallback.
Enable an optional passphrase (recommended)
The passphrase — sometimes called "the 25th word" — is an extra secret you combine with your seed to unlock a hidden wallet. Even if someone finds your seed phrase, they cannot access the passphrase-protected wallet without this additional string. Write the passphrase in a different physical location from the seed. This single feature defeats the most common theft scenario: a burglar who finds your seed backup but nothing else.
Generating Your First Receive Address
With the device initialised, the companion app now shows a "Receive" button. Click it and your hardware wallet generates a fresh Bitcoin address — it appears on both the computer screen and the tiny screen of the hardware wallet itself. This is deliberate.
Always cross-check the first four and last four characters of the address on the device screen against what your computer shows. Clipboard-hijacking malware is a known class of attack: it silently replaces a legitimate receive address on your computer with one controlled by an attacker. The hardware wallet screen cannot be touched by that malware, so if the two screens disagree, the computer is compromised — not the wallet. Only approve the address on the device after they match.
Default to a Native SegWit address (it starts with bc1...) unless you have a specific reason otherwise. Native SegWit gives you the lowest on-chain fees, which matters when a NoxHash withdrawal of 0.00001 BTC minimum gets charged a 1.5% platform fee plus the miner fee on-chain. Save the address in a plain text note so you can paste it into the NoxHash withdrawal form — but remember, the source of truth is always the device screen at confirm-time, not the note.
Test With a Small Amount First
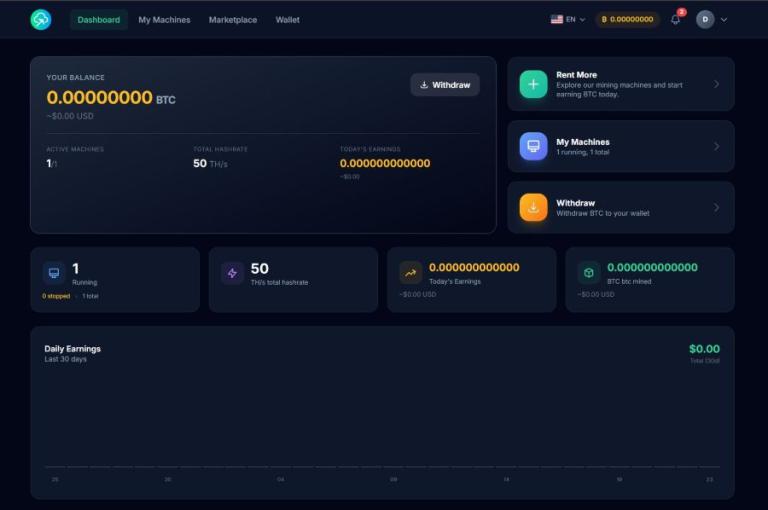
Do not move your entire BTC balance on the first transfer. Instead, send a test amount at or just above the NoxHash minimum withdrawal of 0.00001 BTC, confirm it lands in your hardware wallet, and only then scale up. This is the same "test first" rule that experienced operators apply to every new address, exchange, or wallet software — the cost of a test fee is tiny compared to the cost of discovering a mistake with your full balance.
When the test arrives, open the companion app and make sure it shows the correct balance and a confirmed transaction. Then send a real withdrawal. From that point on, your workflow becomes predictable: mining payouts accumulate on NoxHash, you withdraw to the same hardware wallet address periodically, and the cold storage balance grows. A new receive address per transaction is generated automatically for privacy, but they all belong to the same wallet controlled by your one seed.
Your hardware wallet is set up — time for the 0.00001 BTC test
NoxHash withdrawals support bc1, 1, and 3 address formats with a 0.00001 BTC minimum — the ideal size for the "test first" rule before you move a full month of mining payouts to cold storage.
Common First-Timer Mistakes That Undo Everything
Every mistake below has cost real owners real money, and all of them happen at setup — not years later. Review them before you start and again after step 6, because they are easy to commit in the rush of new-device excitement.
Photographing the seed phrase
One picture on a phone synced to iCloud or Google Photos, and your seed is now stored on servers reachable by any future account compromise. Paper or metal only. No phone cameras, no scanners, no "just this once."
Typing the seed into a password manager
1Password, Bitwarden, and LastPass are excellent — for passwords. A seed phrase in an encrypted vault is still a seed phrase online, subject to phishing, reused master passwords, and vendor breaches. The whole point of hardware is to keep the seed off networked devices.
Buying used or from a grey-market reseller
Counterfeit hardware wallets with pre-initialised seeds exist and have drained new owners within hours of first use. eBay, Marketplace, forums, and "discounted" storefronts are not worth the 20% savings. First-party or authorised only.
Skipping verification or using a weak PIN
A mis-written seed only reveals itself when the device fails — usually years later. A weak PIN (1234, birthday, repeating digits) removes the physical-theft delay the PIN is supposed to provide. Both failures are silent until the moment they matter most.
One more mistake worth calling out on its own: storing your only seed backup in a bank safety deposit box. Banks open Monday to Friday during business hours. If you need to restore on a holiday weekend — or if the bank denies access for any reason — you're locked out of your own BTC. Keep at least one backup somewhere you control full-time, ideally a fireproof safe at home, and consider a second copy at a trusted location for disaster redundancy.
Where This Fits Into a Miner's Monthly Workflow
For cloud-mining operators, a hardware wallet is the end of the money pipeline, not the beginning. The typical flow looks like this:
Mining payouts accumulate in your NoxHash BTC balance every minute, 24/7, from whichever machines you're running. You let the balance grow until it's meaningful — most operators withdraw monthly or whenever the balance clears some personal threshold (for example, once the 1.5% withdrawal fee becomes negligible relative to the amount). You then send a withdrawal from NoxHash to your hardware wallet's bc1... address, the BTC settles on-chain in a few confirmations, and the cold storage balance grows. Repeat on whatever rhythm fits your tax planning.
Over twelve months, this workflow turns volatile mining revenue into a disciplined accumulation plan — the hardware wallet becomes the place where long-term stack lives, while NoxHash remains the operational account for active earnings. Keep only what you need for near-term moves on the platform; sweep the rest to cold storage. The hot-side balance is always recoverable via platform login; the cold-side balance is recoverable only via the seed phrase you wrote down in step 3, which is why those steps deserved the time they took.
FAQ — First-Time Hardware Wallet Setup
Can I skip the passphrase step if I already have a strong PIN?
You can, but you lose the single strongest defence against seed-phrase discovery. The PIN only protects the physical device; the passphrase protects against anyone who finds your paper backup. For a first hardware wallet with meaningful BTC, enable the passphrase and store it separately from the seed.
What if I lose the seed phrase?
As long as the device still works and you remember the PIN, move the funds to a new wallet immediately, generate a fresh seed, and treat the first one as compromised. If the device fails without a seed backup, the BTC is unrecoverable — no vendor, company, or support team can restore it.
Can I use the same hardware wallet for multiple coins?
Yes — modern wallets derive separate addresses per coin from the same seed using BIP-44 paths. Ledger and Trezor support thousands of assets; Coldcard is Bitcoin-only by design. For mining payouts specifically, stick to BTC accounts and leave altcoin experimentation to a different device or account.
How often should I update firmware?
Update when the official companion app prompts you, usually every few months. Security patches matter. Always download firmware through the vendor app, not sideloaded from a website link, and keep the seed backup accessible in case something goes wrong during the flash.
What if the hardware wallet company goes bankrupt?
Your BTC is fine. The seed phrase is BIP-39 standard — any other compatible wallet (Electrum, Sparrow, a different hardware brand) can restore the same addresses from those words. The company disappearing only costs you the companion app; the funds are yours as long as the seed is.
Do I need a separate hardware wallet for each family member?
Ideally yes — one seed per person. Sharing a device means sharing a seed, which breaks inheritance planning and creates joint custody you probably don't want. If cost is an issue, the passphrase feature lets one device hold multiple hidden wallets, but each person should own their seed backup.
Informational content, not financial or security advice
This guide describes the general setup workflow shared across major hardware wallets as of 2026. Specific button labels, firmware screens, and companion-app behaviour differ between vendors and change with updates — always follow your device manufacturer's official instructions during setup. Crypto self-custody carries real risk of permanent loss through user error. Research your specific model and do a test transaction before transferring significant BTC.